
The following steps outline how to take an accurate compass bearing on a map.
1 – Place your map on a flat surface where possible.
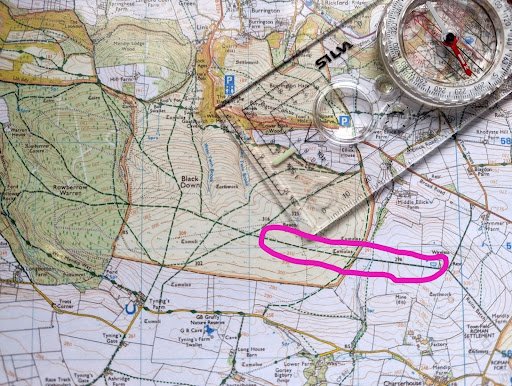
2 – Identify on the map the path or direction you would like to travel on.
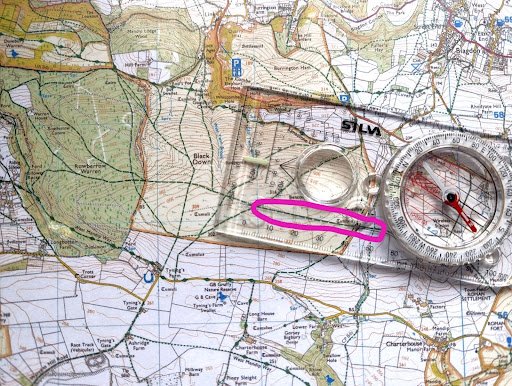
3 – Put the edge of your compass or the guide line on the compass on the line of travel.
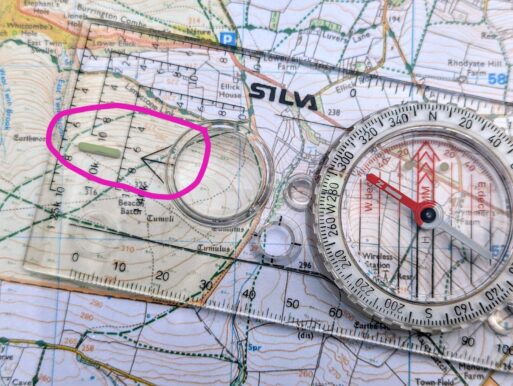
4 – Ensure that the directional arrow of the compass is pointing the way you want to travel.
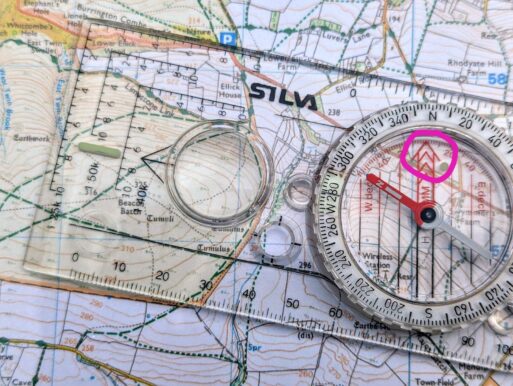
5 – Turn the compass bezel (the body or clock of the compass) so that the red arrow is pointing north on your map (the top of the map)
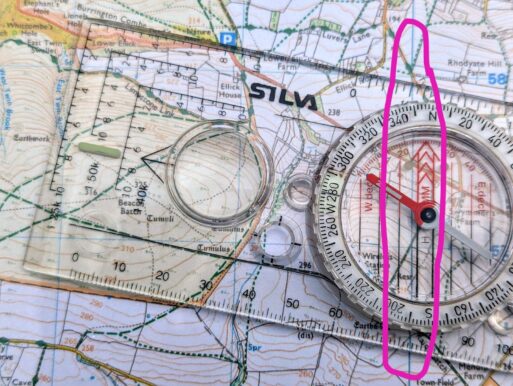
6 – If you can see any vertical blue grid lines, line these up with the orientating lines inside the compass bezel to make the compass bearing more accurate.
7 – Finally, put the compass in front of you and move your body until the red pin is in the red arrow (red in the shed!) Start walking!